Convert PDF to JPG Without Losing Quality: Exact Settings That Work
You convert a PDF page to JPG and the result looks soft, even though the PDF looked crisp. The fix is rarely a better converter. It is two settings most people never touch: the DPI the page is rendered at, and the JPEG quality it is saved with.
Quick answer
To convert PDF to JPG without losing quality, render the page at 150 DPI for screens and slides, or 300 DPI for printing and zooming into detail, and save at JPEG quality 80 to 90 for photos. For pages that are mostly text, charts, or screenshots, save as PNG instead of JPG, because JPG compression blurs sharp text edges no matter how high you set the quality slider. Never re-save an existing JPG at a lower quality, and never upscale a small JPG and expect it to get sharper.
Why conversions go blurry
A PDF page has no fixed pixel size. Text and lines in a PDF are stored as vectors, which redraw sharply at any zoom level. A JPG is a grid of pixels. Converting means rendering that page into pixels at one chosen resolution, and the resolution you pick decides how much detail survives.
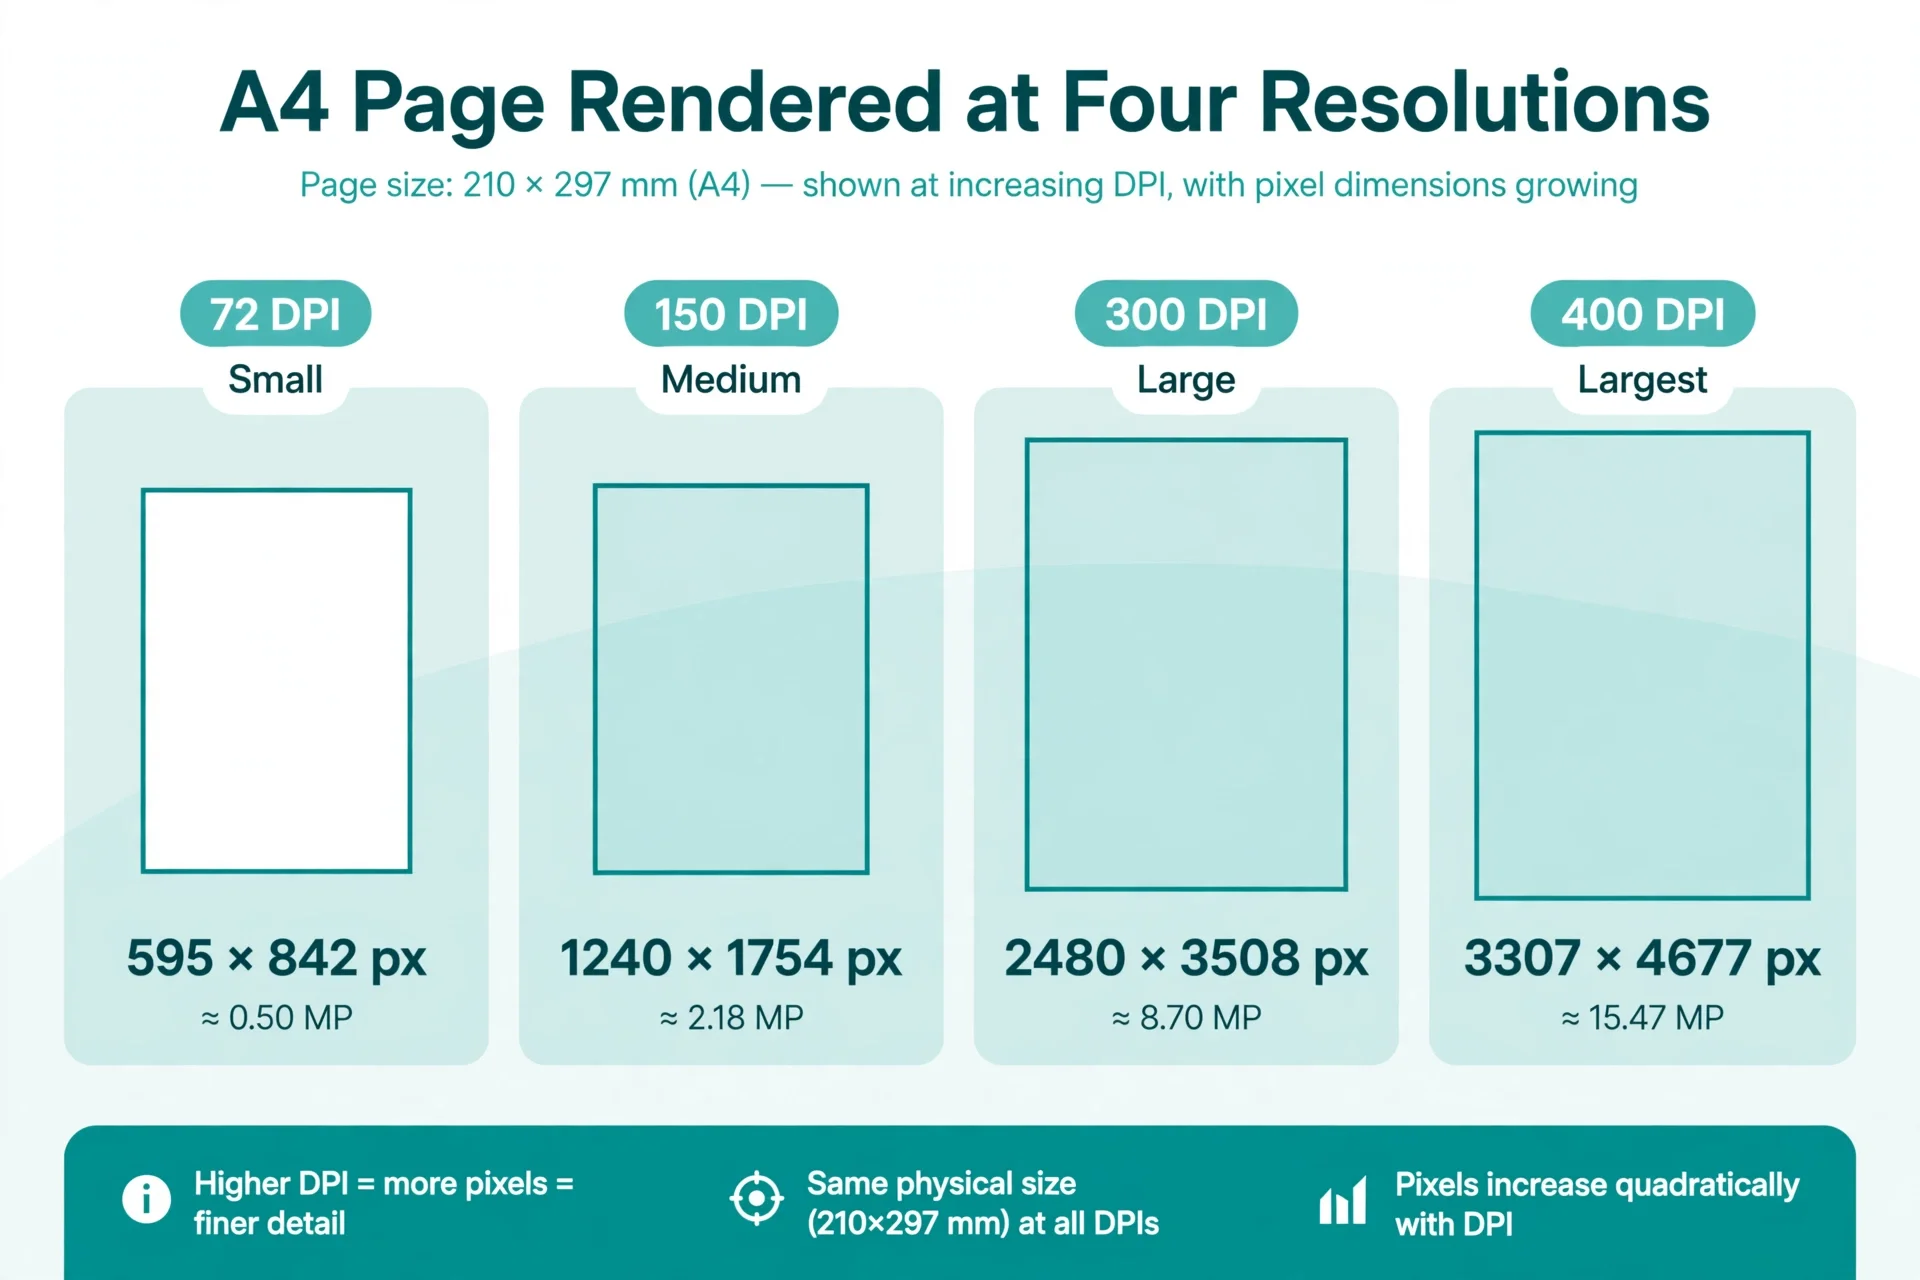
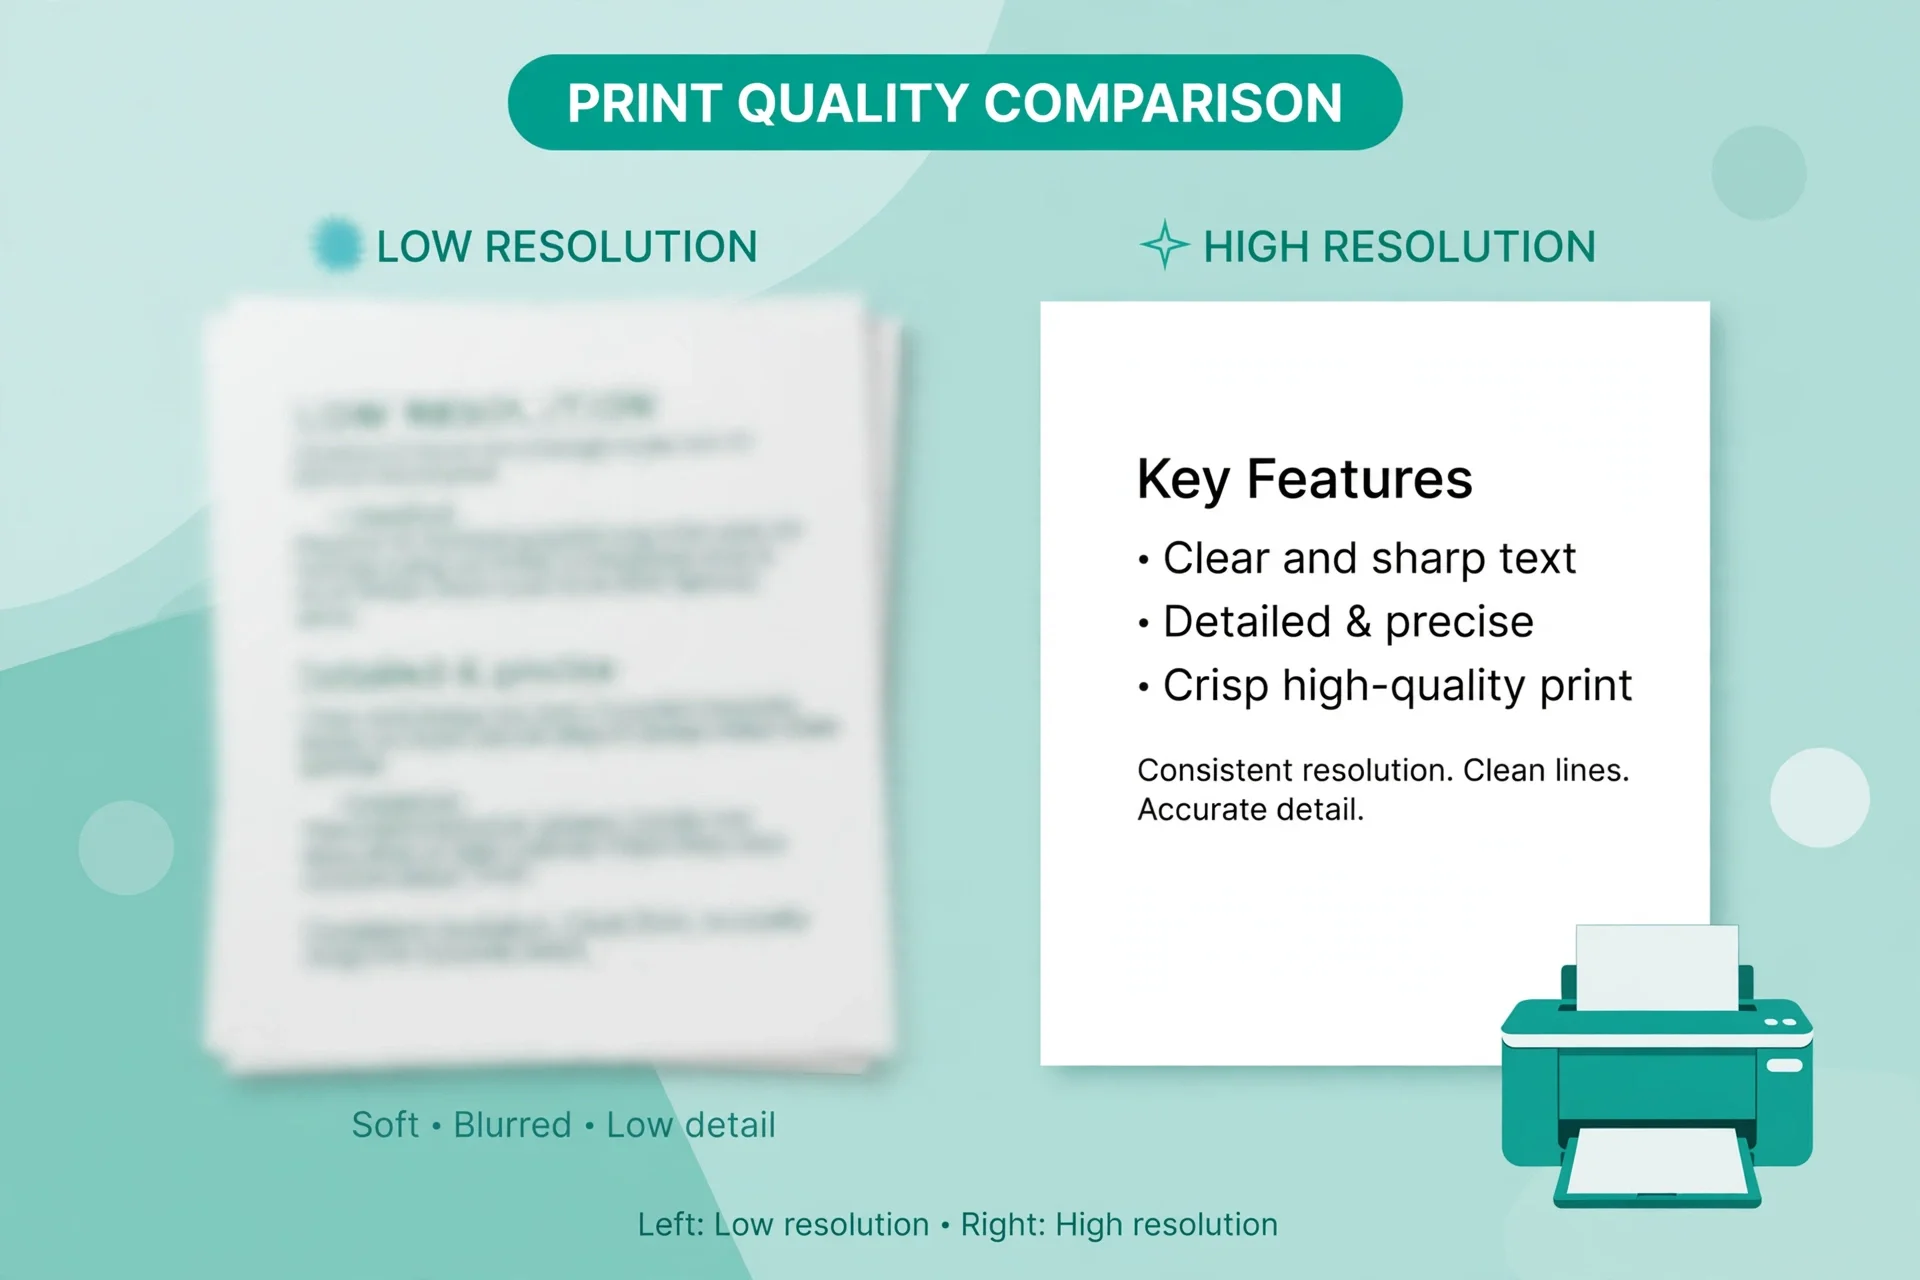
Most blurry results come from rendering too small. A page rendered at 72 DPI gives an A4 page of only about 595 by 842 pixels. That looks fine as a thumbnail, but it falls apart on a full screen, in a slide deck, or in print. The converter did nothing wrong. It simply was not asked for enough pixels.
The second cause is recompression. Every time a JPG is opened, edited, and saved again, the encoder throws away a little more detail. A photo that passes through three saves looks worse than the same photo saved once at the same quality setting. Photos embedded inside a PDF are already raster images, so they can survive a conversion well, but vector text cannot be recovered once it has been rendered soft.
The third cause is the wrong format for the content. JPG compression works by grouping pixels into blocks and discarding fine detail, which suits photos. It smears exactly the high-contrast edges that make text readable. If your page is a scanned form, a chart, or a screenshot, no JPG quality setting fully fixes that. That is a format problem, not a settings problem.
Pick the right DPI
DPI, or dots per inch, controls how many pixels the renderer creates for each inch of page. An A4 page is 8.27 by 11.69 inches, so multiplying by the DPI gives the pixel size. The table below shows the result for the DPI values converters commonly offer.
| DPI | A4 page in pixels (approx.) | Good for |
|---|---|---|
| 72 | 595 by 842 | Thumbnails and quick previews |
| 150 | 1,240 by 1,754 | Screens, slides, and social posts |
| 300 | 2,480 by 3,508 | Printing and zooming into detail |
| 400 | 3,307 by 4,677 | Archiving and very fine text |
For most people, the choice is simple. Use 150 DPI when the image will only ever be seen on a screen, and 300 DPI when it might be printed or zoomed. Going to 400 DPI or higher rarely helps for ordinary pages, because the file grows much faster than the visible detail, and most screens and printers cannot show the difference at reading distance.
One more distinction matters. Changing the DPI number stored in a JPG file without changing its pixels does not add detail. It only changes the print size the file claims. Real quality comes from rendering more pixels in the first place, not from editing a metadata number afterwards. If a converter lets you pick a DPI, make sure it re-renders the page at that DPI rather than just relabelling the file.
JPEG quality, explained
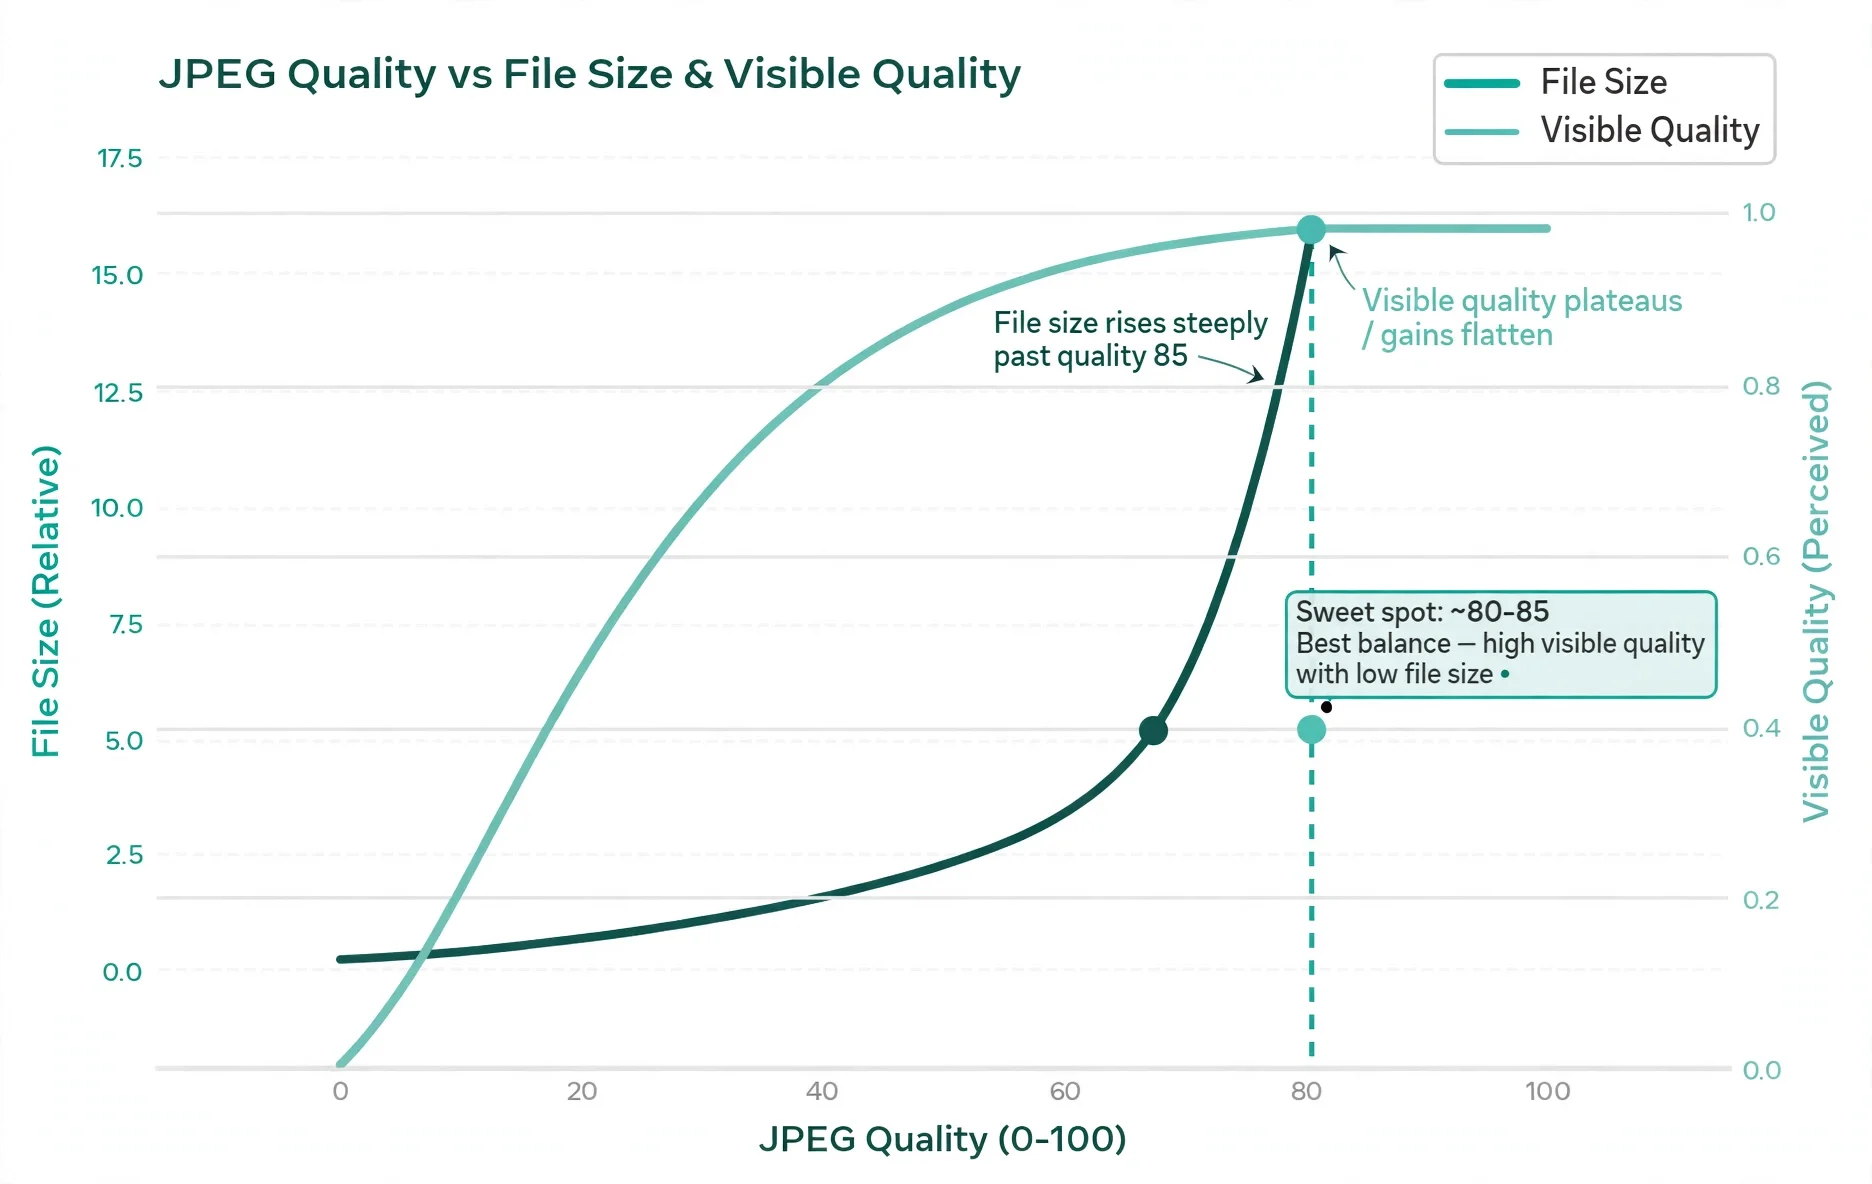
JPEG quality is a number, usually from 1 to 100, that controls how aggressively the encoder discards detail to shrink the file. Higher numbers keep more detail and make larger files. Lower numbers make smaller files with visible blocky artifacts, colour banding, and soft edges.
For photographs, the useful range is narrower than the slider suggests. Quality 80 to 85 gives clean web images at a sensible size, and quality 85 to 92 suits print and client delivery. Above 90, the file often grows a lot while the visible result barely changes. One measured comparison found a photo tripling in size from quality 75 to quality 90 while its measured similarity barely moved, and at quality 95 the file grew again with no visible gain at all.
For text, the slider is the wrong tool entirely. A screenshot encoded as JPG still shows fuzzy ringing around black text on white even at quality 95, because the block-based compression smears sharp edges by design. Turning the slider up only makes a bigger blurry file. If the page is mostly text, change the format, not the number.
A practical rule follows from this. Save photos as JPG at quality 80 to 90. Save text, charts, screenshots, and scans as PNG or lossless WebP. Keep one high-quality master copy of every conversion, and make smaller copies from that master instead of re-saving a copy of a copy.
Step by step: the no-loss workflow
Use this order every time, and you will get the same sharp result whether the page is a photo page, a form, or a chart.
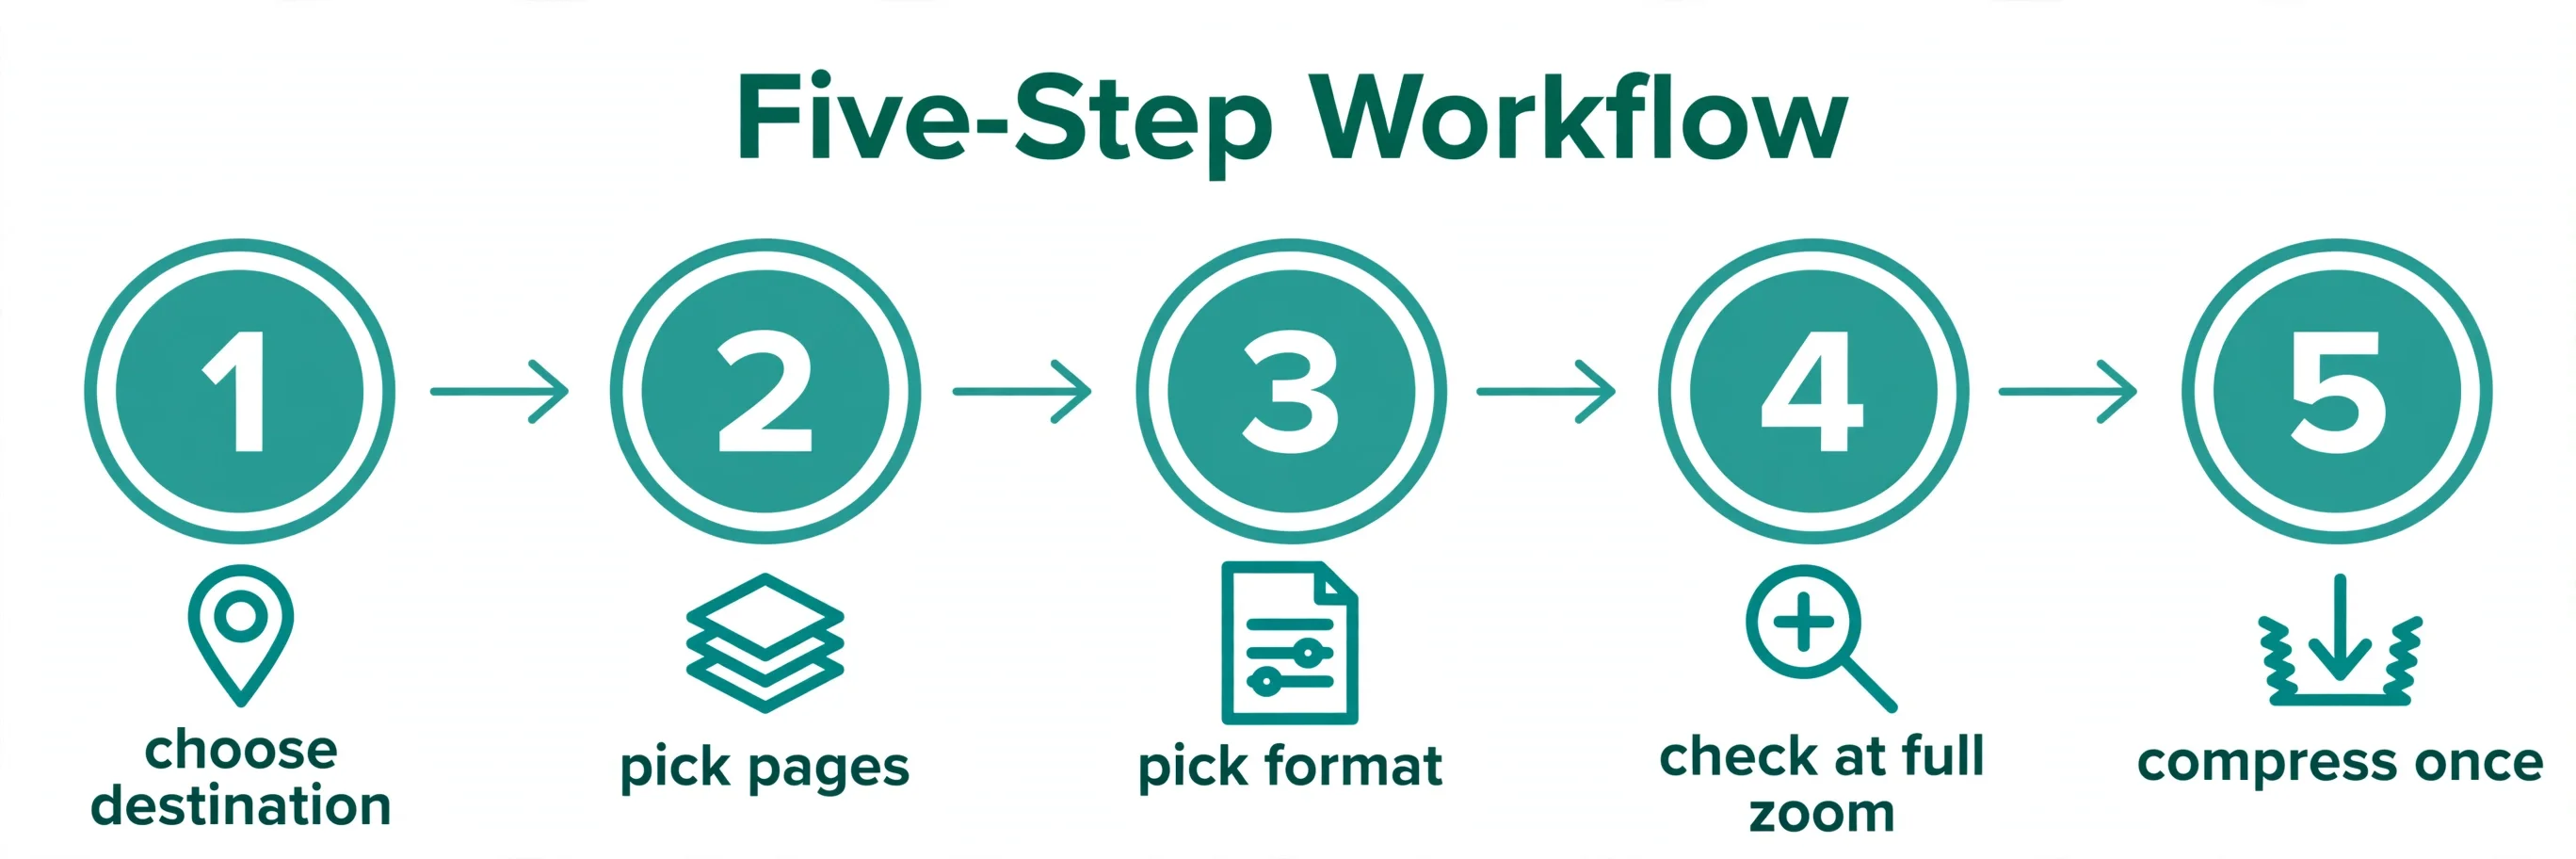
1. Decide where the image will end up. Screen only means 150 DPI. Print, zooming, or archiving means 300 DPI. Write the destination down before you convert, because it picks both settings that follow.
2. Convert only the pages you need. A 40-page document converted at 300 DPI makes 40 large images. Pick the pages that matter, convert those, and leave the rest in the PDF. Smaller batches are also easier to check page by page.
3. Pick the format by content, not by habit. Photo pages go to JPG at quality 80 to 90. Text, chart, and screenshot pages go to PNG. If you must deliver JPG for a text page, render at 300 DPI so the text has enough pixels to survive compression.
4. Check the result at 100 percent zoom. Open the JPG at its actual pixel size and look at the smallest text. If the small text is readable at 100 percent, the conversion is good. Checking a shrunken preview hides exactly the softness you are trying to catch.
5. Compress afterwards, not during. If the file is too large to send, run it through the Compress PDF workflow for the document, or compress the image itself once from the high-quality master. Never compress by converting the same JPG again at a lower quality, because each extra save costs detail you cannot buy back.
When to use PNG instead
PNG stores pixels without throwing detail away, so text stays crisp at any zoom. The trade is file size: a PNG of a photo page can be several times larger than the same page as JPG. That is why the choice depends on content, not on loyalty to one format.
Use PNG for forms, contracts, invoices, charts, diagrams, screenshots, and scanned documents where small text must stay readable. Use JPG for photographs, posters, and artwork where smooth colour matters more than razor edges. When you are unsure, convert one test page both ways and compare them at 100 percent zoom. The difference, if any, shows up in the smallest text within seconds.
There is one more case worth knowing. If the PDF page already contains a low-resolution photo, no converter setting can invent detail that is not there. Rendering at 300 DPI will not sharpen a blurry source photo. It only makes a larger copy of the same soft image. In that case, the honest fix is a better source file, not a higher DPI.
Common mistakes and fixes
Converting at the default resolution and wondering why text is soft. Fix it by re-rendering at 150 DPI for screens or 300 DPI for print. Do not upscale the soft JPG afterwards, because upscaling stretches existing pixels instead of adding real detail.
Saving a JPG, editing it, and saving it again. Fix it by keeping the first high-quality conversion as the master and making every later version from that master. Each extra save is a one-way loss.
Using JPG for a text-heavy page. Fix it by switching to PNG for that page. If JPG delivery is required, render at 300 DPI and accept a larger file as the price of readable text.
Converting every page at maximum settings. Fix it by converting only the pages you need at the DPI the destination needs. A full document at 400 DPI wastes storage and upload time for detail nobody will see.
Judging quality from a shrunken preview. Fix it by checking at 100 percent zoom. Previews hide softness, and a file that looks fine small can still fail in print or on a large screen.
Frequently asked questions
How do I convert PDF to JPG without losing quality?
Render the page at 150 DPI for screens or 300 DPI for print, save photos at JPEG quality 80 to 90, and use PNG for text-heavy pages. Convert only the pages you need, check the result at 100 percent zoom, and keep a high-quality master instead of re-saving copies.
What DPI should I use for PDF to JPG?
Use 150 DPI for screens, slides, and social posts, and 300 DPI for printing or zooming into detail. Use 72 DPI only for thumbnails and quick previews, and 400 DPI for archiving or very fine text. An A4 page at 300 DPI is about 2,480 by 3,508 pixels.
Why does my converted JPG look blurry?
Usually it was rendered too small, often at a 72 DPI default, or it was saved and re-saved several times. JPG compression also blurs sharp text edges on its own. Fix it by re-rendering at a higher DPI, switching text pages to PNG, and checking the result at full zoom.
Is PNG better than JPG for PDF pages?
For text, charts, screenshots, and scans, yes, because PNG keeps every pixel and text stays crisp. For photographs, JPG is smaller and looks fine at quality 80 to 90. Choose the format by what is on the page, not by habit.
Does higher JPEG quality always help?
No. Above about quality 85 to 90, the file grows fast while the visible result barely changes, and for text pages even quality 95 still looks fuzzy. DPI and format choice matter more than pushing the quality slider to its maximum.
Can I sharpen a blurry JPG by upscaling it?
No. Upscaling stretches the pixels that are already there and adds no real detail. Re-render the PDF page at a higher DPI instead, or get a better source file if the original page image was already low resolution.
Try the free converter
Start with the destination. Screen only means 150 DPI, print or zooming means 300 DPI, and text pages mean PNG. Convert only the pages you need, check the smallest text at 100 percent zoom, and keep the first good conversion as your master copy.
When you are ready, open the free PDF to JPG converter, convert the pages you need, and check each result before you share or print it. If a file is too large afterwards, shrink it once from the master copy instead of converting the same JPG again.
How we tested this: we checked the DPI pixel sizes against published conversion guides found during research, including a DPI table for PDF to JPG conversion and a guide on vector text versus raster images, and we checked JPEG quality behaviour against measured quality comparisons showing little visible gain above quality 85 to 90. We also read the PDF to JPG tool page on this site to confirm it processes files in the browser with no signup. Figures here are planning guides, not measurements of any one file.
Privacy note: the PDF to JPG tool page states that your files are processed in your browser and never uploaded, with no signup and no watermark. A document you convert is not sent to a server to be turned into images.
Last updated: November 2, 2026